How to Shoot a Low-Budget Music Video That Looks Professional

There are $500 videos that look better than $50,000 videos. Not because the cheap ones got lucky — because the people who made them understood that the things which actually determine how a video looks are mostly free. Light is free. Timing is free. A location you scout properly costs nothing. A shot list takes an afternoon.
The $50,000 video that looks worse usually spent its money on things the camera doesn't care about, and skimped on the things it does.
Light is the entire thing
If you take one thing from this: shoot in good light and almost everything else is forgivable. Shoot in bad light and nothing you do in post will fully fix it.
Good light for a low-budget video means one of two things: golden hour outdoors, or a window indoors.
Golden hour — the hour after sunrise and the hour before sunset — gives you warm, directional, soft light that wraps around faces rather than flattening them. Cinematographers on big-budget sets spend enormous amounts of money recreating this light artificially. You can have it for free twice a day. It lasts about forty minutes and then it's gone, so you need to know exactly what you're shooting before you arrive.
A window indoors works the same way: large, soft, directional light from one side. Position your subject so the window is at roughly 45 degrees to their face. Move them closer to the window to make the light brighter and softer, further away for darker and harder. That's the entire lighting setup most interview-style and performance-focused music videos use.
One thing people get wrong: shooting outside in the middle of a sunny day. Harsh overhead sun creates unflattering shadows under eyes and noses and blows out exposure on skin tones. If you're outside and the sun is directly overhead, find shade or wait.
Your phone is fine
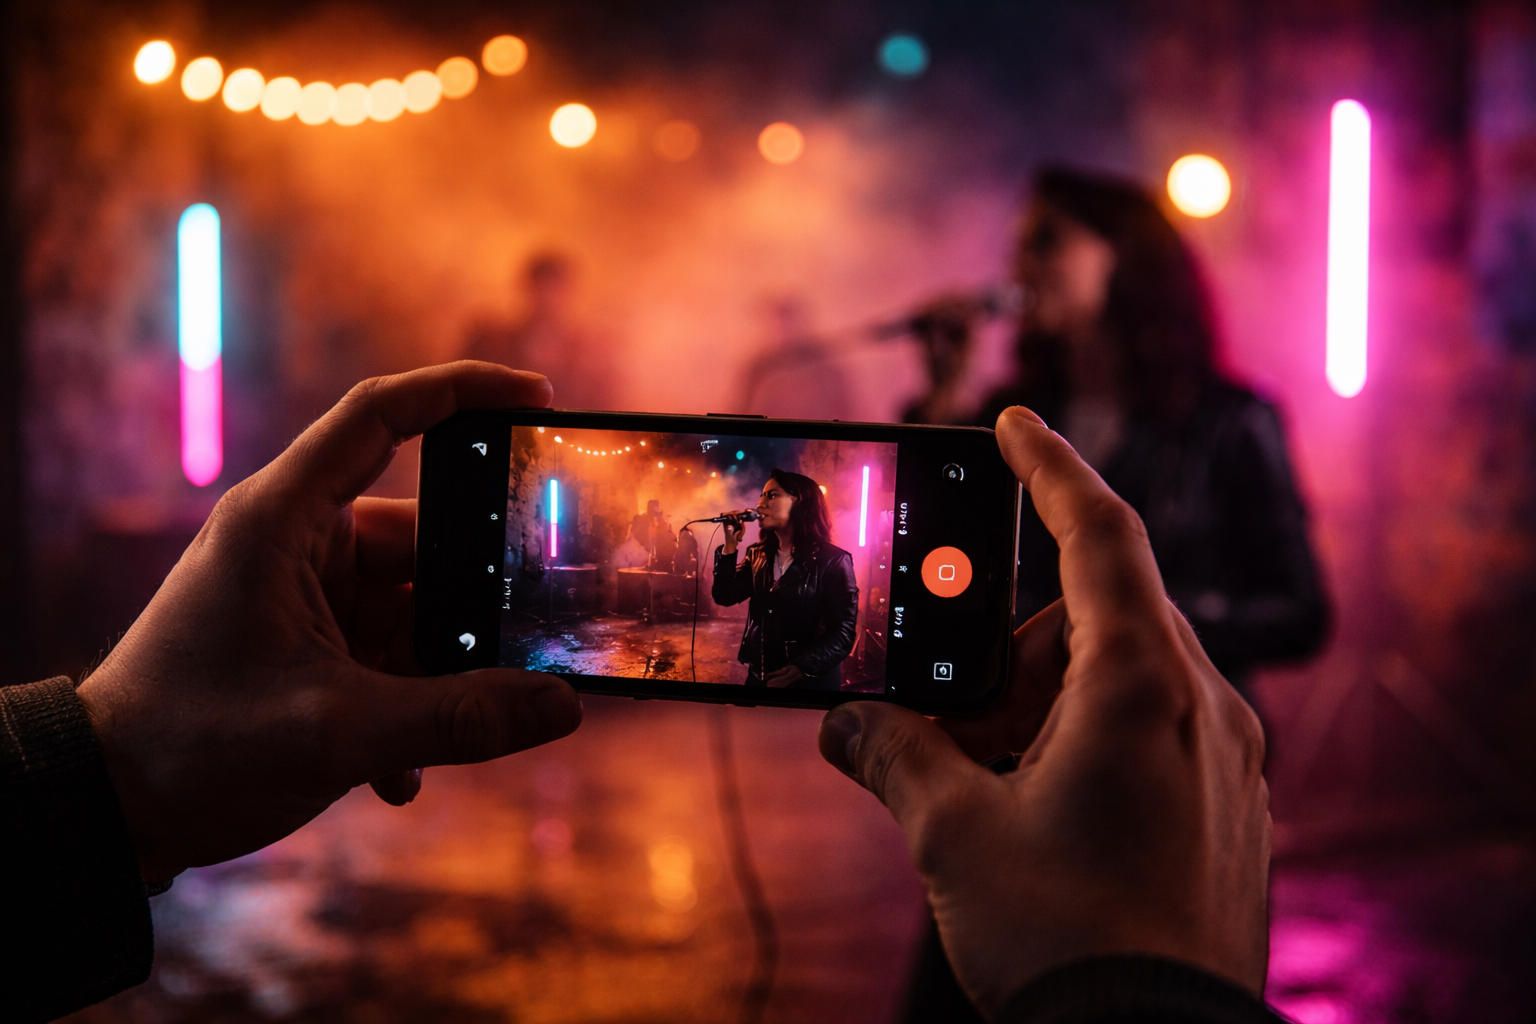
A recent iPhone or Android flagship shoots in log or cinematic modes that give you flat, colour-gradeable footage. The stabilisation handles handheld movement that would have required a gimbal a few years ago. The lenses produce images that hold up at 1080p and 4K.
What phone cameras don't do well: low light performance degrades significantly compared to a dedicated camera with a large sensor. Achieving shallow depth of field — that blurred background look — is harder to get naturally, and the phone's software simulation of it often reads as artificial. Dynamic range in high-contrast scenes (bright sky, dark foreground) is more limited than a mirrorless camera with a proper sensor.
If you have access to a mirrorless or DSLR with a 50mm or 85mm prime, use it. If you don't, the phone is not your limiting factor. The light and the location are.
One specific thing that makes phone footage look immediately better: a cheap ND filter. Under $20, screws onto a clip-on lens adapter, and it controls exposure properly in bright outdoor conditions rather than forcing the camera into a high shutter speed that makes movement look stuttery and wrong.
The location does more work than the camera
A bad location shot on an Arri looks like a bad location. A great location shot on an iPhone looks like a music video.
Great locations for low-budget videos share a few characteristics. Visual depth — something interesting in the background, not a flat wall. Natural light that works, or surfaces that bounce and diffuse light usefully. And somewhere you won't be interrupted or chased out of after twenty minutes.
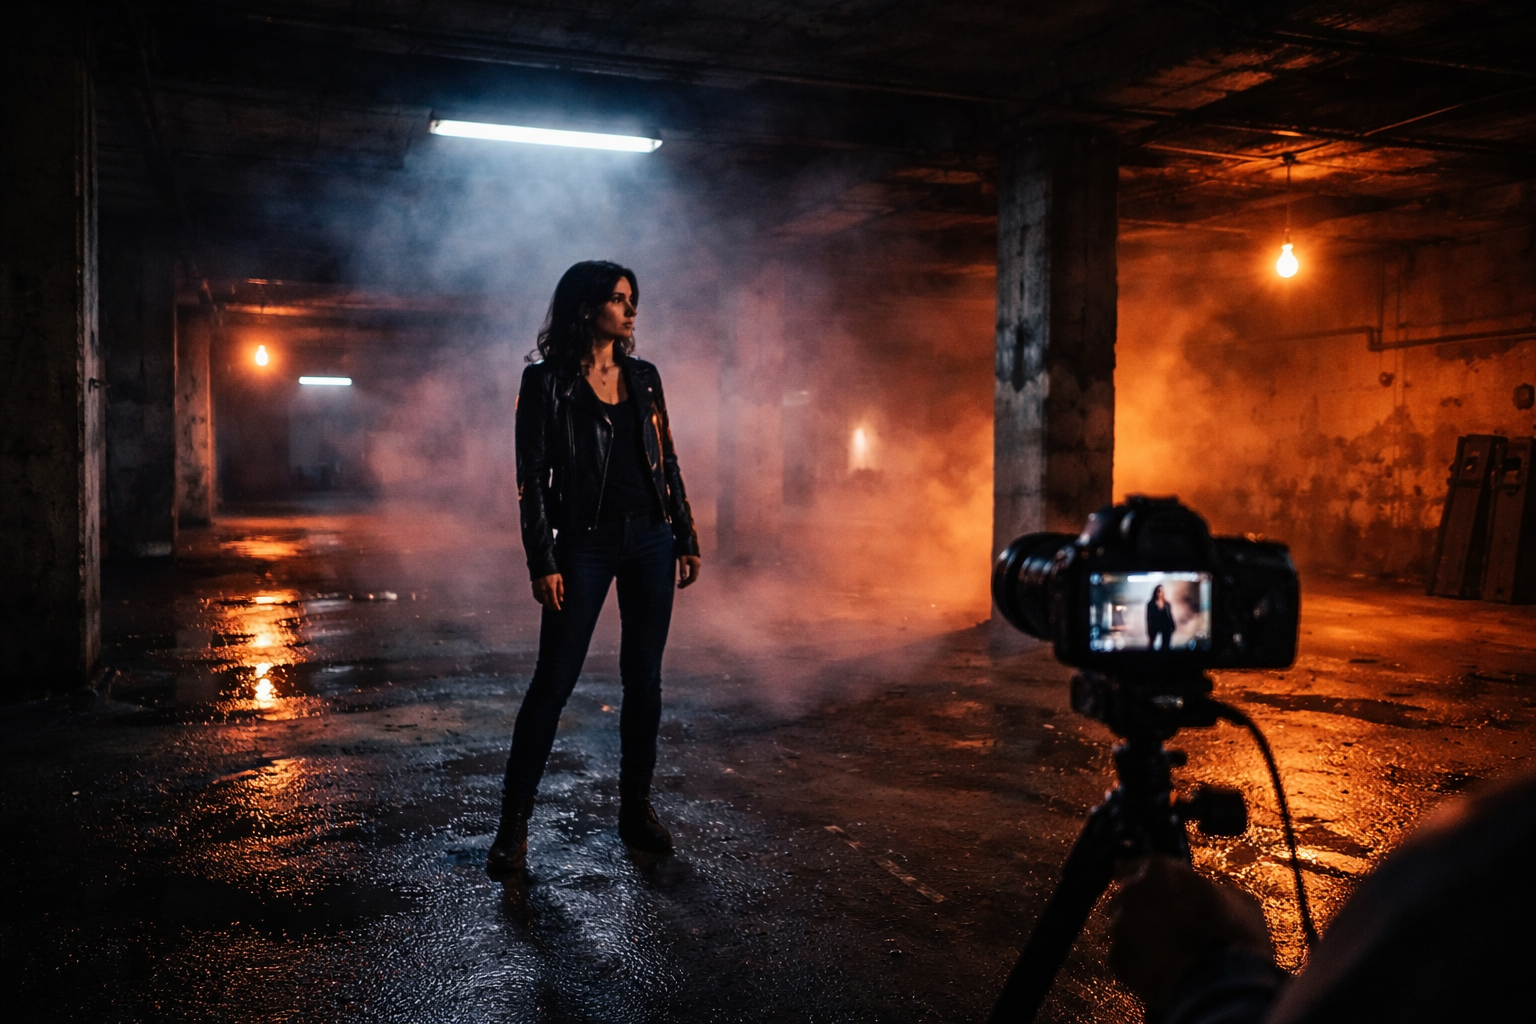
In practice: parking garages at night, rooftops, industrial areas, empty warehouses, train stations in off-peak hours, parks at golden hour, well-lit underpasses. All of these have been in videos that looked expensive. None cost money to access.
The thing worth spending time on before the shoot day: go to the location scouting at the same time of day you plan to film. See where the light is. See what the background looks like through a camera. A location that looks promising in person at noon looks completely different through a lens at 6pm. Find out which version you're actually getting before you show up with your crew.
Movement beats static

A locked-off camera pointing at a static subject is the hardest thing to make interesting. It lives or dies on performance alone — and performance under those conditions, knowing nothing is moving, is hard to sustain.
Camera movement changes this. You don't need a $3,000 gimbal or a slider. Walking toward your subject while filming creates natural handheld movement. A slow pan from a tripod takes ten seconds to learn. Shooting through something in the foreground — a chain-link fence, foliage, a doorframe — creates parallax depth that reads as considered composition, not low budget.
The specific movement that makes footage look more expensive than it is: dolly simulation. Place your phone or camera on anything with wheels — a skateboard, a shopping cart, a wheeled office chair — and push it slowly toward or away from your subject. The movement is smooth and linear in a way handheld isn't. It reads as intentional. It looks like you have a dolly because you do have one, just not the $5,000 version.
More setups, less time at each one
The instinct is to find one good setup and squeeze everything out of it. Three hours in the same location, same framing, shooting takes until something feels perfect.
Then you get to the edit and realise the problem. One setup gives you one angle. One angle gives your editor nothing to cut to. By the second chorus, the viewer has seen every inch of that location and the video is running out of steam.
Write a shot list before you arrive — even a rough one on your phone. Knowing which setups you need means you're not inventing the plan on set while the light changes. Ten minutes at a location with two or three different framings gives the editor real options. The cuts can land differently because there's visual variety to cut between.
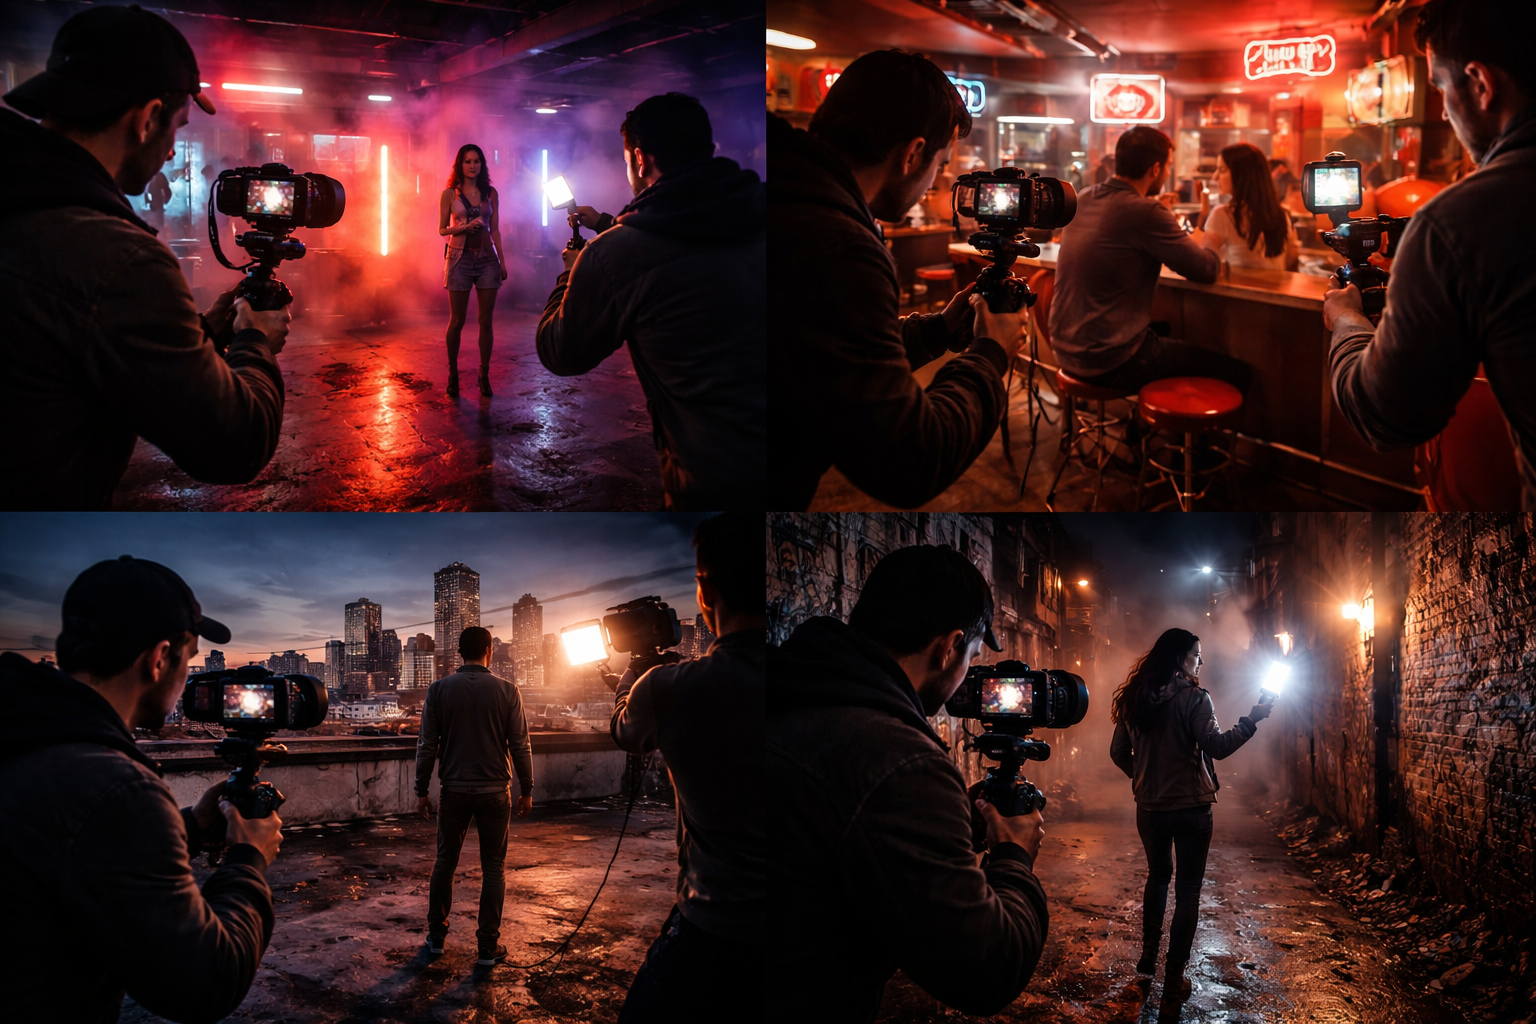
The practical target: for a three-minute song, you want material from at least six or seven different setups. They don't need to be wildly different locations. The same alleyway from four different angles and distances counts as four setups. The camera position changes; the location doesn't have to.
Think of it as a loose storyboard: you don't need drawings, just a list of six or seven shots you're committed to getting before you leave.
The performance is the hardest part to fake
Everything else here is technical and learnable. This is harder.
A performance that's self-conscious — an artist who's aware of the camera, unsure where to look, going through motions rather than feeling the song — reads immediately. Doesn't matter how good the light is.
Things that help: play the song loudly on a speaker during the shoot. Not headphones — a speaker the whole set can hear. The artist should know the song well enough that they're not thinking about words or timing. Shoot more takes than you think you need. The first two or three are usually the artist getting comfortable; the real performance often comes later when they stop trying.
Specifically: don't cut the playback between takes. Keep the music running. Let the artist move between takes while the song continues. The transition from finishing a take to starting the next one is often where the most natural, unselfconscious moments happen — and if the camera is still rolling, you have them.
Two things worth actually spending money on
Colour in the frame. A costume stylist is out of budget. But asking the artist to wear something specific — a single strong colour, nothing with a busy logo — costs nothing. Colour coordination between subject and location is one of the things that makes professionally shot videos look deliberate. It's a decision made in pre-production, not in post.
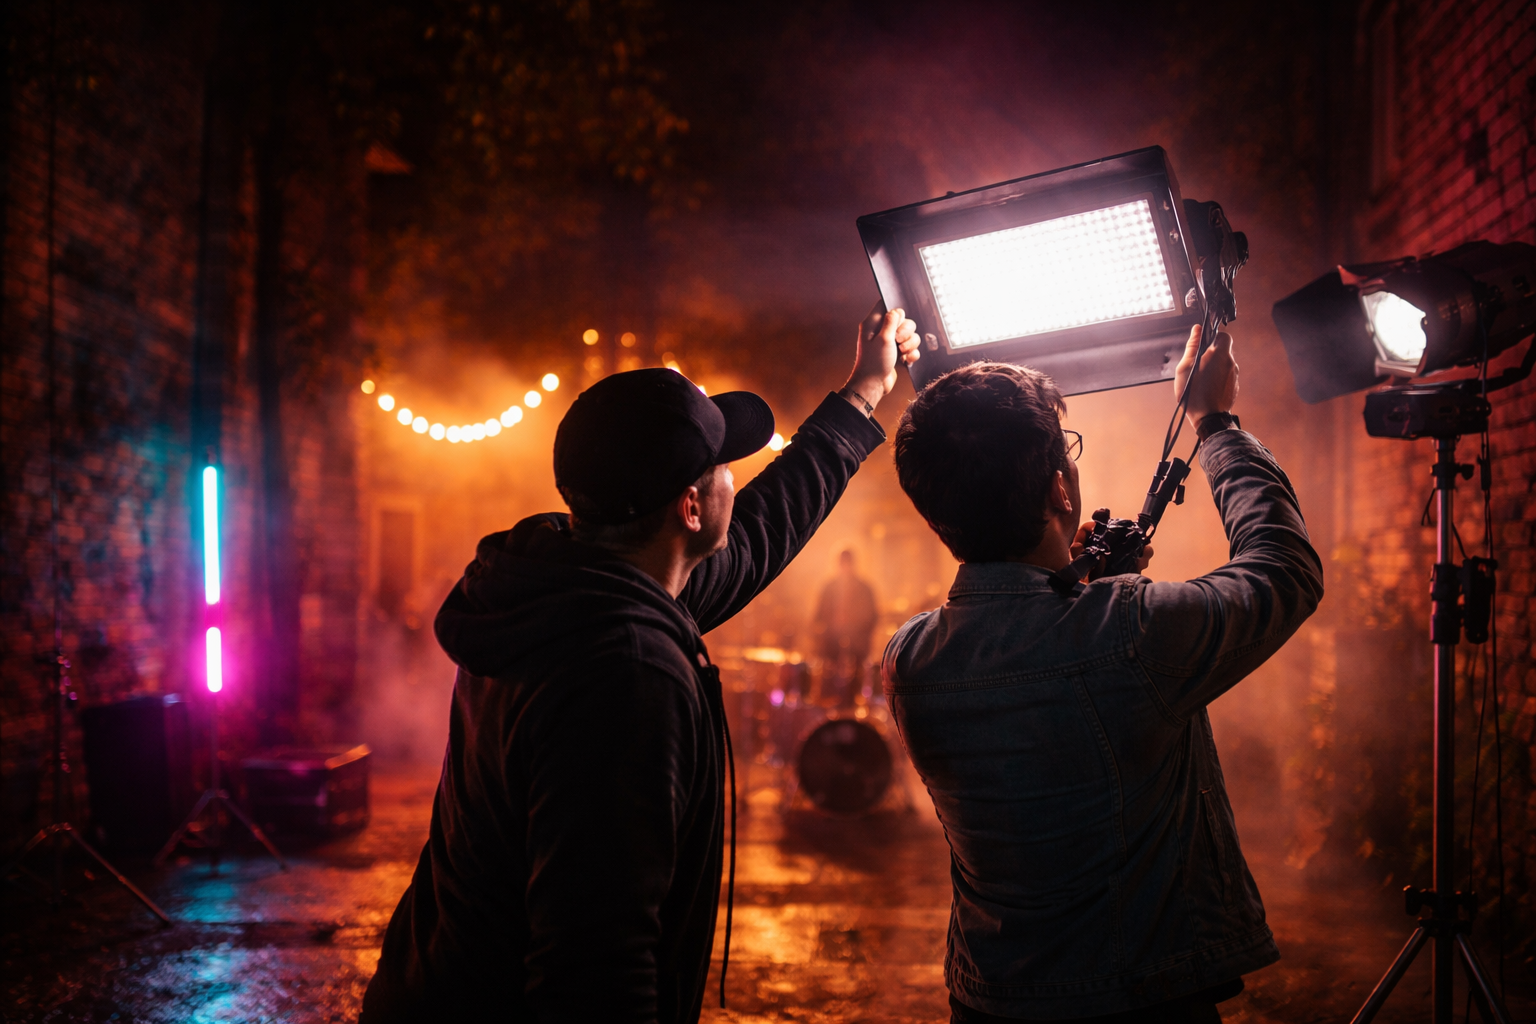
A second person. The worst music videos to shoot are ones where the artist is also operating the camera, or where the camera operator is simultaneously directing, handling playback, and trying to think about framing. A second person who holds the phone while you direct, or handles playback while the camera operator focuses on the shot, changes the quality of what you capture. It doesn't need to be a professional. It needs to be someone paying attention.
What the shoot gives post-production to work with
Shooting well reduces the work in the edit. It doesn't eliminate it.
The colour grade is where footage that was shot carefully separates from footage that wasn't. A well-exposed shot with good dynamic range takes grading well — you can push it toward any look because the detail is there in both the shadows and the highlights. Badly lit footage resists grading because the information simply isn't there to work with.
The aspect ratio decisions matter here too — shooting everything in a way that can work across 16:9 for YouTube and 9:16 for vertical platforms saves you significant pain at the export stage, especially if you're planning to cut social versions from the same footage.
FAQ
Do I need a gimbal? Not necessarily. Deliberate handheld movement — where you're conscious of how you're moving and why — often reads better than wobbly gimbal operation from someone still learning it. If someone on your shoot knows how to use one well, use it. If not, leave it.
How many people do I need on set? Two is the minimum that lets you work properly. One operating the camera, one handling everything else — playback, direction, location management. More is useful but not always possible.
Can I shoot an entire video in one location? Yes — many strong music videos are single-location shoots. The constraint is that one location gives the editor less to cut between, so the performance and camerawork carry more weight. Get more setups than you think you need.
What's the actual minimum gear for a decent result? A phone from the last three years, a tripod with a phone mount, good light. A clip-on wide-angle lens costs under $30 and occasionally helps. Everything beyond this is incremental improvement, not the difference between looking professional and not.
How long does a low-budget shoot take? For a three-minute song, a focused shoot with three or four locations or setups takes four to six hours. More if you're moving between distant locations. Less if you've scouted everything in advance and know exactly what you're going for before you arrive.