How to Make Your First Video Clip (Step-by-Step for Beginners)

Making your first video clip feels overwhelming — but it doesn't have to be.
The truth is, you don't need a fancy camera, expensive software, or years of experience. You just need your phone or laptop, a free app, and this guide.
By the end, you'll have a real, finished video clip — ready to share on YouTube, Instagram, or TikTok.
Let's start from the very beginning.
What Is a Video Clip? (And Why You Should Start Making Them)
A video clip is a short segment of video — usually anywhere from a few seconds to a few minutes long. It can be a highlight from a longer video, a standalone moment, or something you created from scratch.
Think of it like a photo, but moving. You film something, cut out the boring parts, and share the good stuff.
People make video clips for all kinds of reasons:
- Sharing moments on social media (TikTok, Reels, YouTube Shorts)
- Promoting music or creative projects
- Building a following as a content creator
- Marketing a business or product
No matter why you're here, the process is the same — and it starts with the basics.
What You Need Before You Start
A device to film with You don't need a professional camera. Your smartphone is more than enough to get started. Modern phones shoot in 4K — better than most cameras from five years ago.
A device to edit on You can edit on the same phone you film with, or on a laptop. Both work. We'll cover options for each below.
Something to film This could be anything: a clip of yourself talking, footage from outside, or even existing videos you've already taken. Don't overthink this for your first clip — the goal is just to practice the process.
Step 1 — Choose Your Video Editing Software
The software you use to edit is called a video editor. There are free options that are genuinely great for beginners. Here are the best ones:
| Editor | Price | Best for | Platform |
|---|---|---|---|
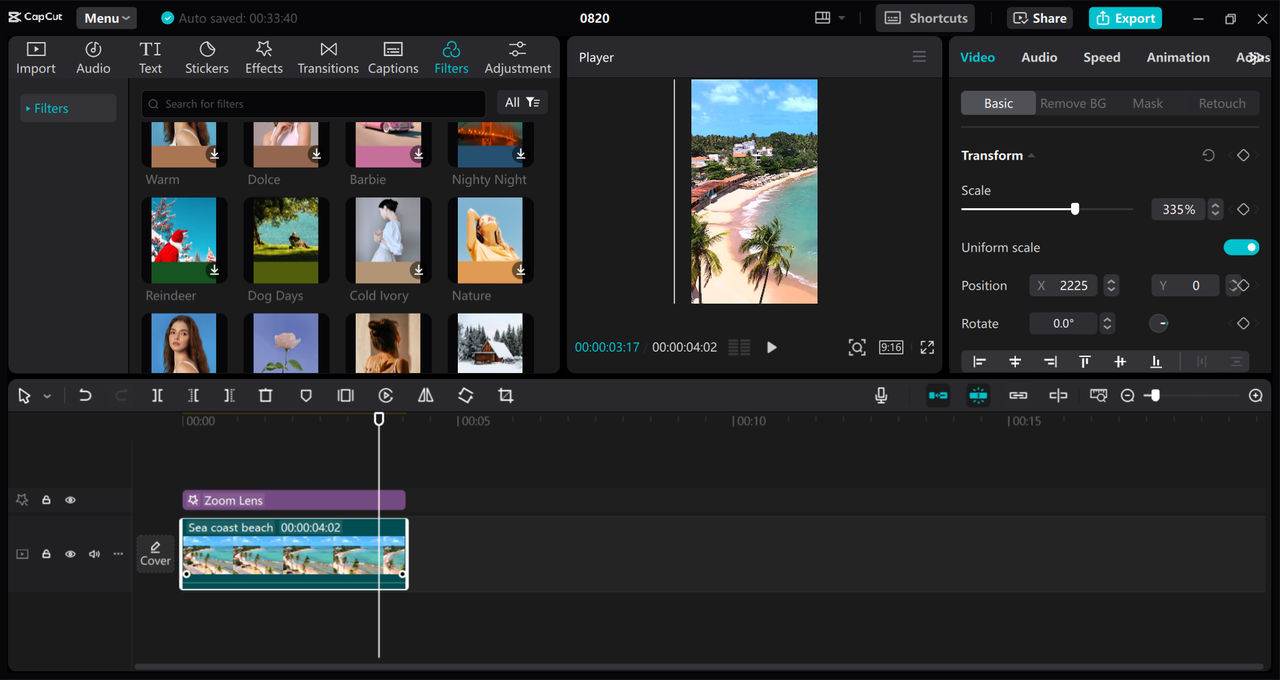
| CapCut | Free | Beginners, phone/PC | iOS, Android, Windows, Mac |
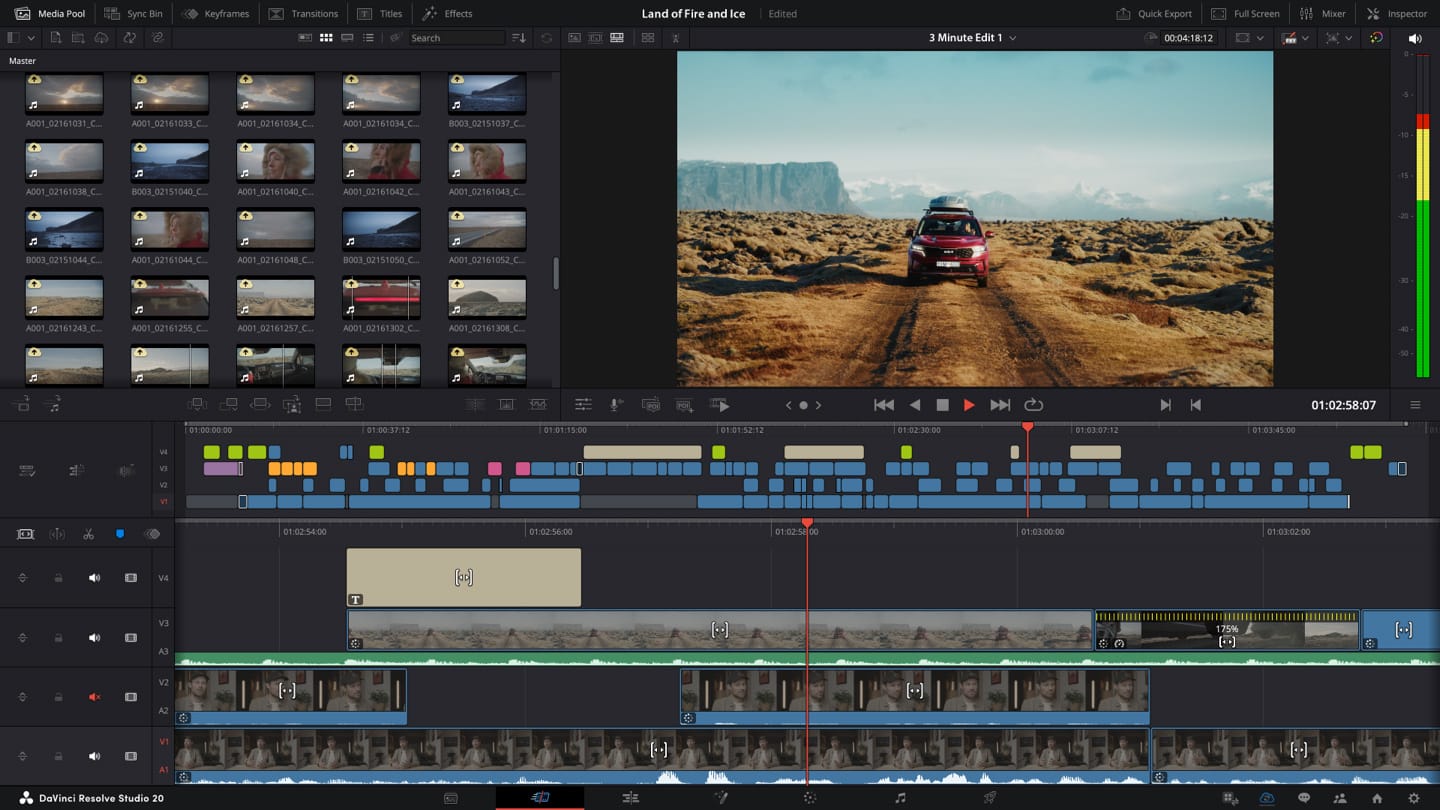
| DaVinci Resolve | Free | Quality + growth | Windows, Mac, Linux |
| iMovie | Free | Apple users | Mac, iPhone, iPad |
| Filmora | Freemium | Easy + effects | Windows, Mac |
💡 Beginner recommendation: Start with CapCut. It's free, available on both phone and PC, and designed for exactly this use case. You can always upgrade later.
Step 2 — Import Your Footage
Once you've chosen your editor, open it up and create a new project. Then import your video files.
In CapCut: tap + New Project → select videos from your gallery → tap Add.
In DaVinci Resolve: go to the Media tab → drag your files into the Media Pool.
In iMovie: tap the + button → Movie → select your clips.
Your clips will now appear in the editor, ready to work with.
📁 Tip: Before importing, create a folder on your device called something like "Clip Project 1" and move all your footage there. This keeps things organised and saves headaches later.
Step 3 — Arrange Clips on the Timeline
The timeline is the horizontal strip at the bottom of your editor — it's where your video comes to life.
Drag your clips onto the timeline in the order you want them to play. Think of it like arranging slides in a presentation:
- The clip on the far left plays first
- The clip on the far right plays last
- You can drag and rearrange them at any time
Don't worry about getting the order perfect right away. This is the fun part — experiment.
Step 4 — Trim & Cut to Remove Dead Space
This is where your clip gets good. Trimming means cutting out the boring parts — the moment before you started talking, the awkward pause, the shaky section at the start.
How to trim a clip:
- Tap or click on a clip in the timeline to select it
- Drag the left edge to the right to cut from the beginning
- Drag the right edge to the left to cut from the end
- Press play to preview — repeat until it feels tight
How to cut out the middle:
- Place the playhead (the line that shows where you are) at the point you want to cut
- Use the Split or Cut tool (scissors icon in most editors)
- Delete the section you don't want
The golden rule: if it doesn't add to the story, cut it out.
Step 5 — Add Music or Sound
Music transforms a clip. Even a simple background track makes a video feel more professional and engaging.
Option 1: Use the editor's built-in music library CapCut, iMovie, and Filmora all come with royalty-free music tracks you can use without worrying about copyright. Browse by mood or genre and preview before adding.
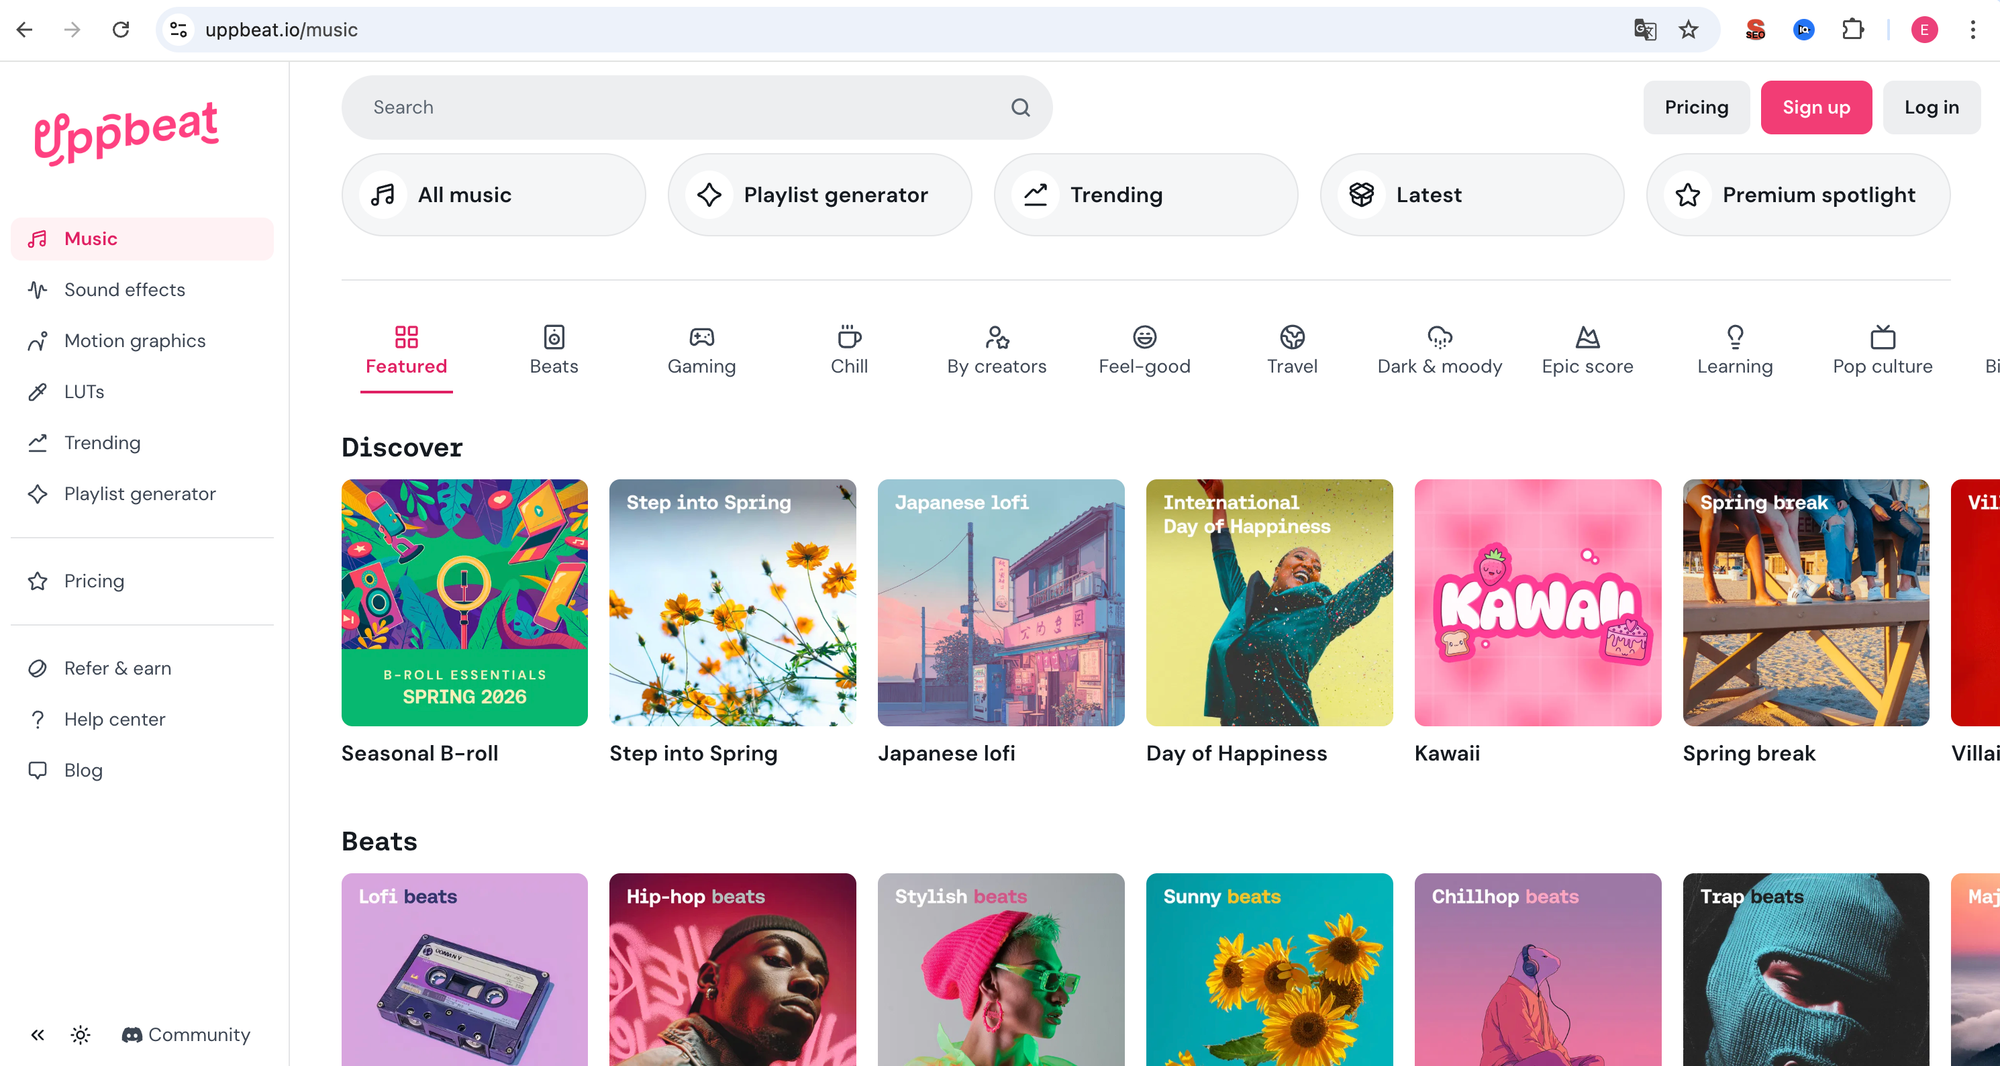
Option 2: Use a royalty-free music site For more choice, try:
- Pixabay — completely free, no attribution needed
- Uppbeat — high-quality tracks, free tier available
- YouTube Audio Library — free for YouTube videos
Adding music to your timeline:
- Download your chosen track
- Import it into your editor (same process as importing video)
- Drag it to the audio track below your clips
- Adjust volume so music doesn't overpower any dialogue
⚠️ Copyright warning: Never use popular songs from Spotify or YouTube directly in your clips. Even if it sounds cool, it will get your video muted or removed. Stick to royalty-free music libraries.
Step 6 — Export and Share Your Clip
Your clip is ready. Now let's get it out of the editor and into the world.
Export settings for each platform:
| Platform | Resolution | Format | Orientation |
|---|---|---|---|
| YouTube | 1080p or 4K | MP4 | Horizontal (16:9) |
| TikTok | 1080p | MP4 | Vertical (9:16) |
| Instagram Reels | 1080p | MP4 | Vertical (9:16) |
| Instagram Feed | 1080p | MP4 | Square (1:1) or Vertical |
In CapCut: tap Export (top right) → choose 1080p → Export.
In DaVinci Resolve: go to the Deliver tab → choose a preset (YouTube or Custom) → Add to Render Queue → Start Render.
In iMovie: tap Share → File → choose your resolution → Save.
Common Mistakes Beginners Make (And How to Avoid Them)
- Not trimming enough — Dead space at the start and end of clips kills engagement. Cut aggressively. If you're unsure, cut it.
- Using copyrighted music — You will get your video muted or taken down. Use royalty-free tracks only.
- Exporting in the wrong format — Always export as MP4. It works everywhere.
- Forgetting to check the audio — Watch your clip with headphones before publishing. Background noise or muffled sound ruins an otherwise great clip.
- Overcomplicating the edit — For your first clip, keep it simple. One track, one piece of music, clean cuts. Fancy transitions come later.
FAQ
Do I need a camera to make a video clip? No. Your smartphone is more than enough. Most videos on TikTok and Instagram are filmed entirely on phones.
What's the best free video editor for beginners? CapCut is the best starting point for most people — it's free, available on all devices, and has everything you need. If you're on a Mac, iMovie is also excellent.
How long should my first video clip be? For social media, aim for 30–60 seconds for your first attempt. It's enough to practice the full editing workflow without getting overwhelmed.
Can I make video clips on my phone? Yes, absolutely. CapCut on mobile is one of the most powerful free editors available. Most professional creators use it for short-form content.
What format should I export my clip in? Always export as MP4. It's the universal format that works on every platform and in every player.