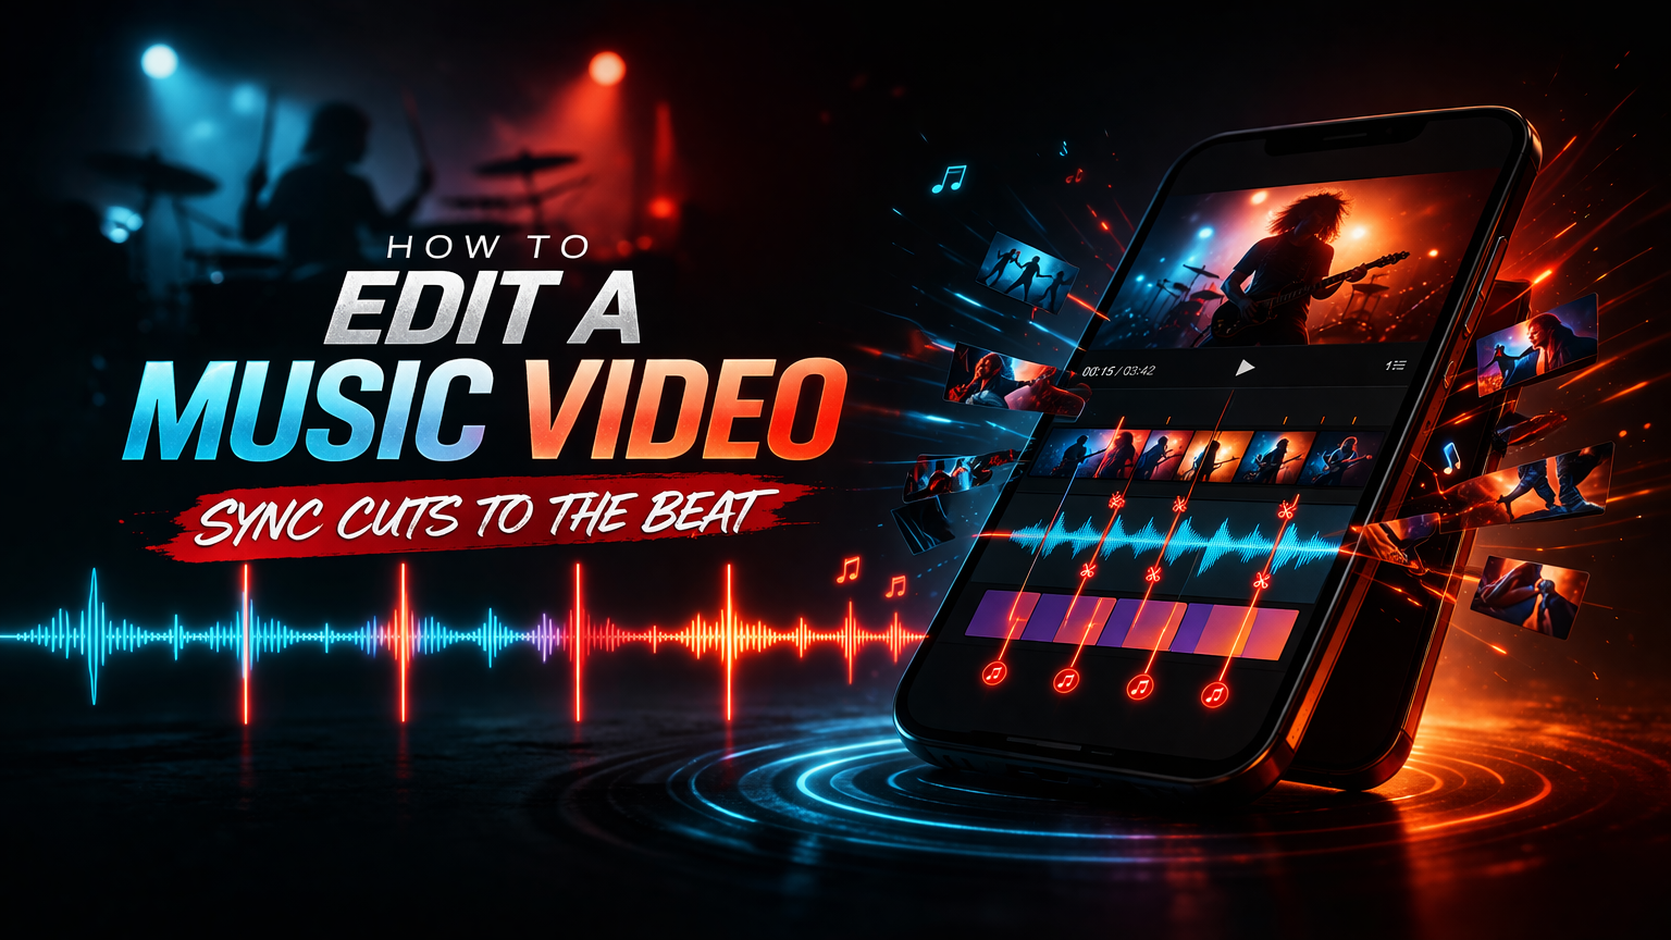
How to Edit a Music Video: Sync Cuts to the Beat
The first music video I ever tried to edit looked fine in my head and terrible on screen.
The footage was good. The song was good. But the cuts landed wherever I happened to drag the clip. Sometimes on the beat, mostly not. The result felt like watching someone eat soup with a fork — technically possible, but clearly something is wrong.
Beat-syncing isn't complicated once you understand what you're actually listening for. But nobody explains it properly, because most tutorials are written by people who've forgotten what it's like to not hear it yet.
This is for people who don't hear it yet.
What "syncing to the beat" actually means
The beat is the pulse of the song. If you tapped your foot listening to it, your foot is on the beat.
Syncing your cuts means the moment you switch from one clip to another lands exactly on — or deliberately just before — one of those foot-taps. When it works, the cut feels inevitable. When it doesn't, the video feels restless in a way the viewer can't explain but definitely feels.
That's it. That's the whole concept. The execution is where it gets interesting.
Step 1: Listen to the song without touching anything
Open your editor. Import the song. Hit play.
Don't touch the footage yet. Just listen through the whole track with your eyes closed if that helps. You're doing three things:
Finding the tempo. How fast is the pulse? Is it a slow, heavy track where each beat has weight? Or is it fast and nervous, where cuts need to come twice as often to feel right?
Finding the structure. Almost every song has sections: intro, verse, chorus, bridge, outro. The chorus usually hits harder — more energy, more sound, more emotion. Your most exciting footage goes there. The verse is where you can breathe.
Finding the moments. There are places in every song that feel like a door slamming — a snare hit, a bass drop, a lyric that lands. These are your anchor points. Your biggest cuts go here.
Don't skip this step. Editors who jump straight to the timeline without knowing the song end up fighting the music the whole way through.
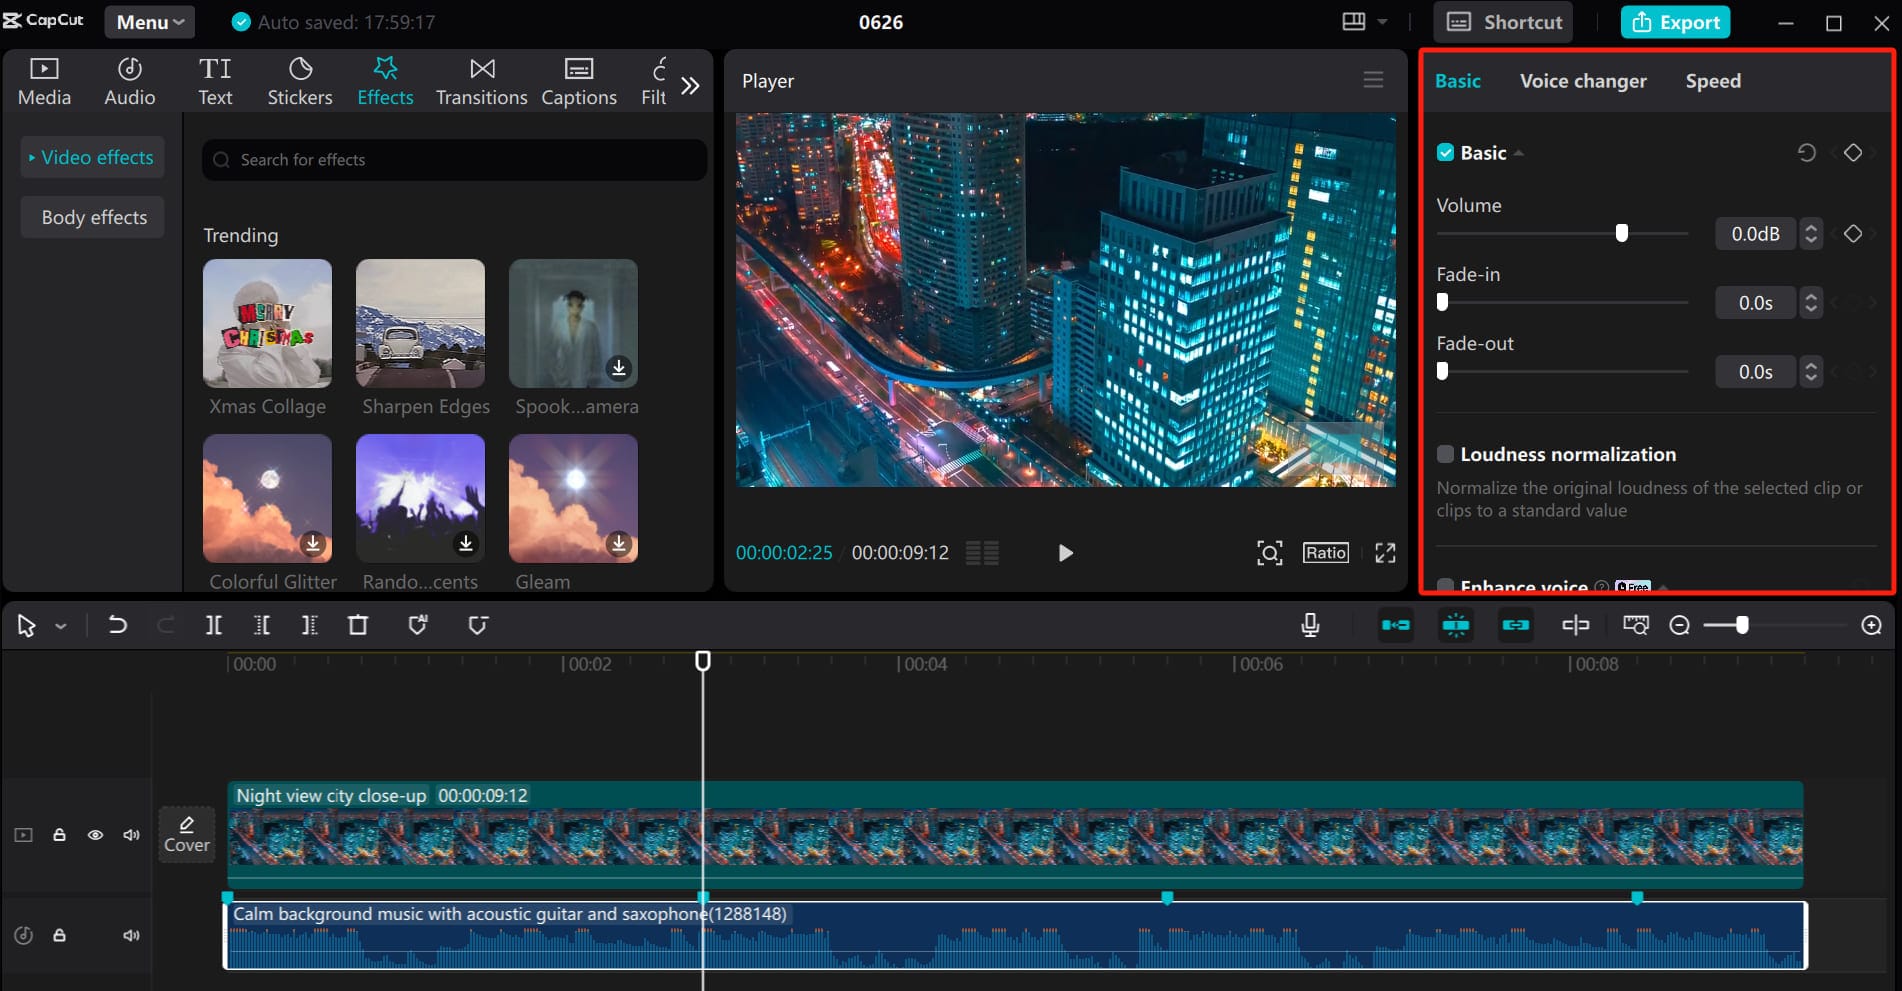
Step 2: Place markers on the beat
Every decent editor lets you place markers on the timeline while the audio plays. This is the most underused feature in music video editing.
Play the song and tap your marker key every time you feel the beat. In most editors:
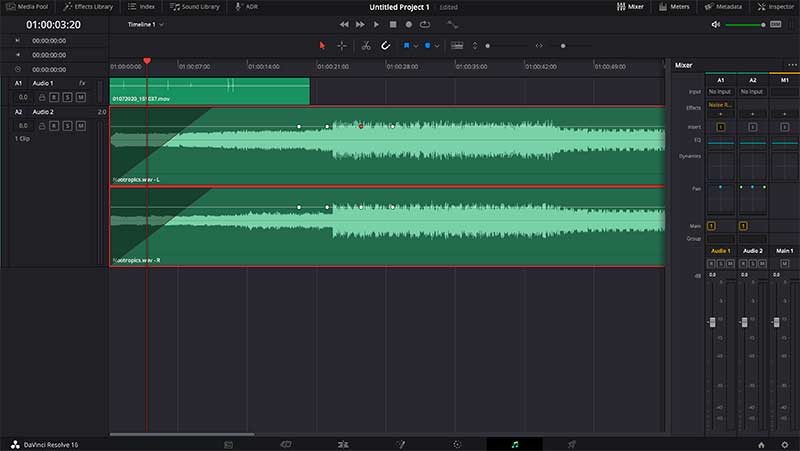
- DaVinci Resolve: M key while playing
- Premiere Pro: M key while playing
- CapCut: tap the clip while playing to split — less precise, but workable
You'll end up with a row of markers that looks like a waveform made of flags. These are your cut points.
First time you do this your markers will be slightly late — you're reacting rather than anticipating. That's normal. Either nudge them forward a few frames, or play the song a few times until your reactions speed up. The second or third pass is usually much cleaner.
Step 3: Cut to the markers, not to the footage
Here's the shift that changes everything: stop asking "where does this clip start and end" and start asking "what do I need to see at this beat?"
The marker comes first. The clip fits around it.
Say your marker lands at 00:14:08. You need a cut there. Now you look at your footage and find something that has a strong visual moment near its beginning — an action starting, a face turning, a movement peaking — and you place that moment on the marker. The cut serves the music. The music doesn't wait for the cut.
This feels backwards at first. You'll want to find a nice-looking clip and figure out where it fits. That's the wrong direction. The beat decides the timing; you decide what image lands on that beat.
Step 4: Match the energy, not just the timing
A cut landing on the beat is the floor, not the ceiling.
The best music video edits don't just sync to the beat — they match the energy of the music at that moment. Fast, dense beats call for fast, dense cuts. A slower section of the song needs space. If your chorus has twelve cuts in thirty seconds, your verse probably shouldn't have twelve cuts in thirty seconds too.
Watch this in any music video you love. The chorus probably cuts twice as fast as the verse. The drop — if there is one — might even pause for a second before the energy comes back in. The editor is translating the music's shape into the rhythm of images.
Your shot selection should track this. Wide, slow shots feel like exhale. Tight, moving shots feel like inhale. A beat drop is where you cut to something you've been withholding — the artist's face, a location reveal, the shot you've been building toward.
Step 5: The J-cut and L-cut — the two moves that change everything
Nobody teaches these early enough.
A J-cut is when the audio of the next scene starts before you see it. The song continues, but you hear something — a sound effect, a lyric hitting differently — while you're still looking at the previous shot. Then the image catches up.
An L-cut is the opposite: you're already watching the next shot but you're still hearing the audio from the previous one.
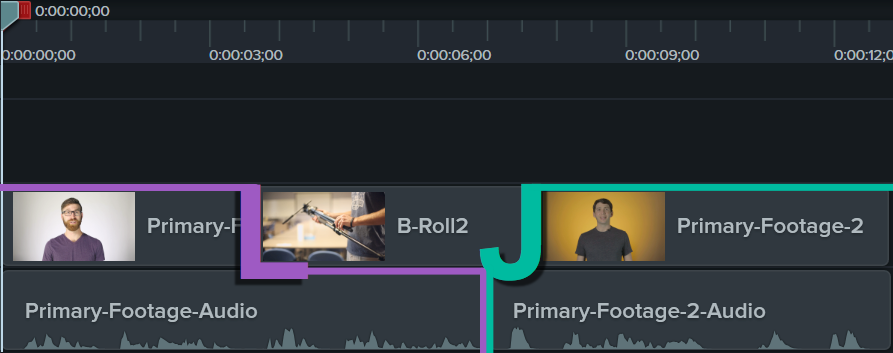
In music video editing, these are less about dialogue (that's more of a film thing) and more about energy. A slight pre-lap — where you start the next beat a single frame early — makes cuts feel sharper and more aggressive. A slight post-lap makes them feel smoother and more cinematic.
The difference is literally 2–3 frames. But it changes the feel of the whole edit.
Step 6: Speed ramping
This is the one effect that actually looks good when you know what you're doing and cheap when you don't.
Speed ramping means slowing a clip down dramatically — sometimes to 10% speed — so that a single moment stretches out. Then it snaps back to full speed, often right on a beat.
When it's right, it feels like the world noticed that moment and paused. When it's wrong, it looks like you discovered the slow motion button.
The rule: ramp into the slow motion on a movement that has natural momentum — a jump, a turn, a throw. The slowdown should land on the peak of that movement. Then snap back to full speed on the next beat.
If you're in DaVinci Resolve: right-click the clip in the timeline, select Speed Change, and use the Speed Ramp option. In CapCut, there's a dedicated Speed panel with a Curve option — the Montage or Hero presets are decent starting points to understand how the ramp shape works before you build your own.
The thing that takes the longest to learn
Knowing when to not cut.
When a song has a moment — a lyric, a chord change, a silence — the instinct is to put a cut there. Sometimes the right choice is to hold the shot and let the music breathe through the image.
A face that stays on screen for four beats while the chorus builds will feel more powerful than four different faces cut one per beat. The stillness creates tension. The next cut, when it comes, releases it.
Every editor develops a feel for this over time. It doesn't come from a tutorial. It comes from watching your edit back and noticing the moments that feel tight versus the moments that feel right.
A quick note on the first cut
Your first cut — from wherever the video starts to the first shot — sets the tempo expectation for the whole video. If it lands late, the viewer's brain immediately calibrates to a slightly-off version of the song. Every subsequent cut has to work against that first impression.
Get the first cut exactly right. If you have to choose where to spend your precision, spend it there.